


How to Get the Most Out of Using Branda
Branda is your white-labeling , efficiency-increasing, admin-customizing connoisseur. She gives you the power to customize every aspect of WordPress, letting your brand flow from the front to back of your website. Here’s how to make the most of her skills…
From reorganizing your admin menu and bar, to sprucing up your dash with a brand new color scheme, Branda allows you to shape your WordPress admin into something custom-tailored to your needs. Add that to the ability to create custom login, maintenance mode and coming soon pages, and you’ve got yourself a pretty powerful plugin.
Branda allows you to completely white label WordPress so that you can present your clients with a site where their brand reaches every single inch.
And, it’s completely multisite friendly, allowing you to make changes to the overall network or per individual site.
We’ve put together this guide to help you get the most out of this awesome plugin.
We’ll be covering how to:
Admin Area
1. Reorganize Your Admin Bar
2. Customize Your Admin Menu
3. Add Your Own Footer Message
4. Create a Dashboard Alert Message
5. Personalize Your Widgets
6. Add New Help Content
7. Create Your Own Color Scheme
8. Add in Some Custom CSS
9. Choose a New Email Template
Front-End
10. Edit Your Author Box
11. Create Your Own Cookie Notice
12. Personalize Your Database Error Page
13. Add Some Header and Footer Content
14. Create a Personalized Login Screen
Utilities
15. Control Your Comments
16. Create Maintenance Mode and Coming Soon Pages
17. Select a New Favicon
18. Set Text Replacement Rules
Let’s start at the top – the admin bar.
Admin Area
Reorganize Your Admin Bar
The admin bar is a valuable tool when it comes to navigating your site.
Branda can help you add and remove items, reorganize the order of your bar, and replace the WordPress logo.
Whether you have a custom logo or not, the admin bar can get in the way when you’re working on the front-end of your site. If you would rather it not be visible, you can use the options below to hide it from certain user roles.
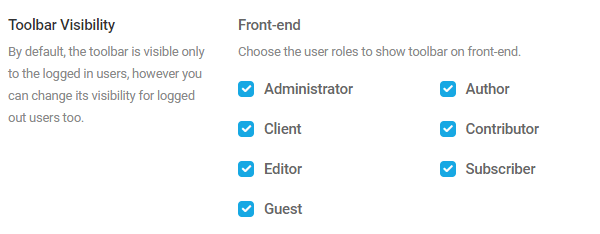
Once you are happy with your permissions, you can choose to hide any aspect of the admin bar, from the logo, right up to the howdy message.
Just untick the boxes of the items you don’t want to see for a quick declutter of your admin bar.
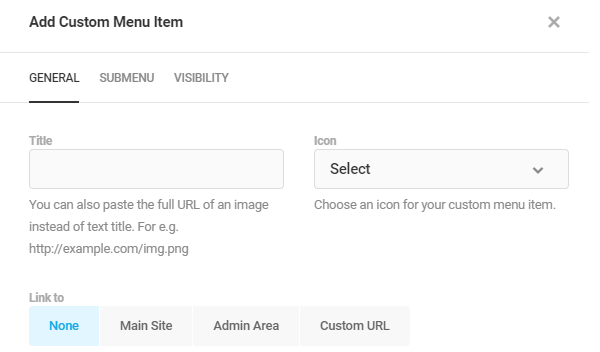
If you want to add some more functionality to your admin bar, you can add your own custom items to it.
Simply choose a name for your new menu item and select an icon.
Once you have tidied up your bar and it contains only icons and links that will help you efficiently carry out your admin duties, you can use Branda to reorganize the menu items.
So simple, but extremely useful if you have a long line of custom menu items!
Customize Your Admin Menu
Just like the admin bar, you can customize your admin menu to make it work for you.
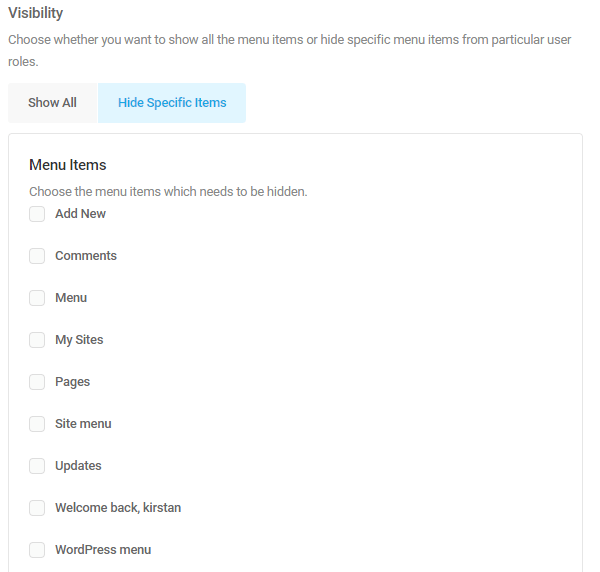
You can easily hide any menu items which you rarely use by hovering over the item and selecting hide.
Items can be hidden for each user role.
Once you’ve said goodbye to everything you don’t need, it’s time to add in the useful stuff.
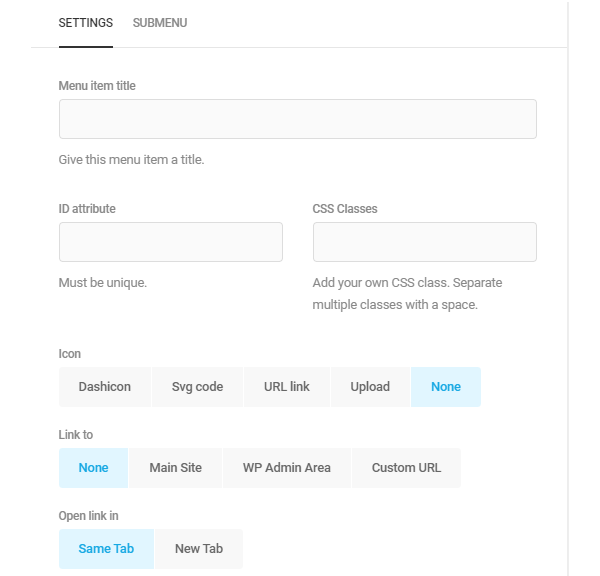
You can easily add a new menu item by clicking the Add Item button.
You’ll then need to select a title, as well as assign an ID and class. Add an icon either from the large list of presets or upload your own from a file stored on your PC, a URL, or as a coded SVG.
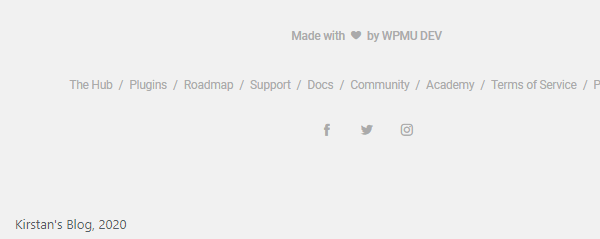
Add Your Own Footer Message
Display a message in the footer of each page within your admin area using the Admin Footer module.

Your footer will display in the bottom left corner of each page within your admin area.
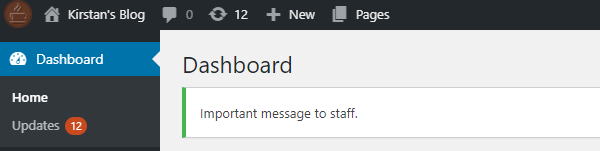
Create a Dashboard Alert Message
Another way to add custom messages or alerts is with the Admin Message module.
You’re greeted with the same input box as with the Admin Footer, however this message will display at the top of each page, so is a much better place to share company updates and reminders.
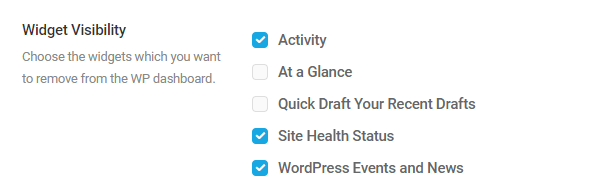
Personalize Your Widgets
Possibly the best way to display your own custom messages, updates, and alerts is using dashboard widgets. Enable the Dashboard Widgets module to get started.
WordPress comes with a few preset widgets, however if you find yourself not using them, you can use Branda to remove them from your dash and use the space to display your own.
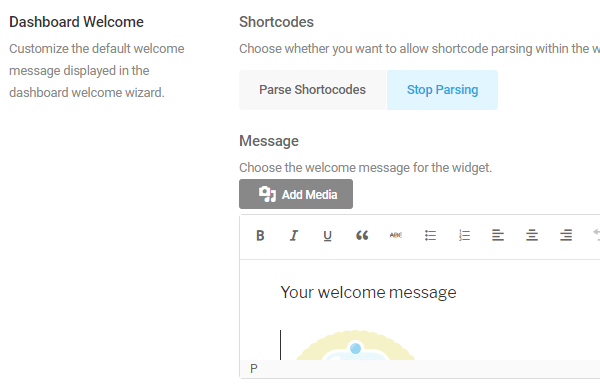
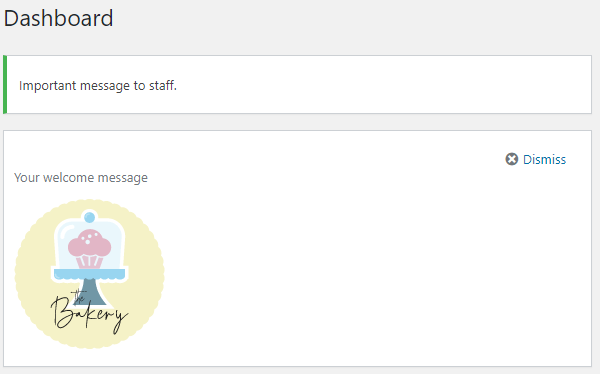
Adding your own widgets is super simple. You can start by creating a Dashboard Welcome Widget.
In order for your welcome widget to display on your dashboard, you need to ensure it is enabled by selecting it within Screen Options.
You can only access the screen options menu through the dashboard screen.
Once you have created your welcome widget and enabled it in the settings, it will be visible at the top of your dashboard screen.
When you’re happy with your welcome widget, you can move onto the rest.
Widgets can be added by clicking the Add Text Widget button at the bottom of the Dashboard Widgets module.
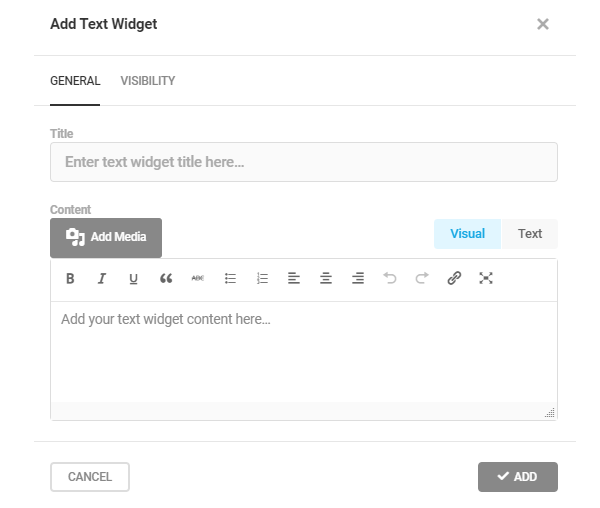
Any widgets you add will appear in the list mentioned above, where you can opt to hide them individually.
You can also add Feeds as widgets so that you always see the latest news from sectors that interest you, straight from your dashboard.
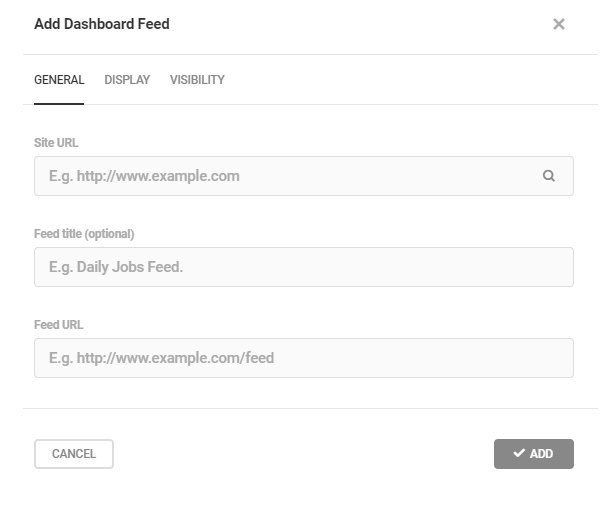
Choose a title, click Add, and your widget will display on your dashboard.

Add New Help Content
The help drop-down is a great place to store useful tips for new users to your site, as well as add reminders for tasks that might need to be done periodically, and instructions on how to carry them out.
You can easily add these tips using Branda’s Help Content module.
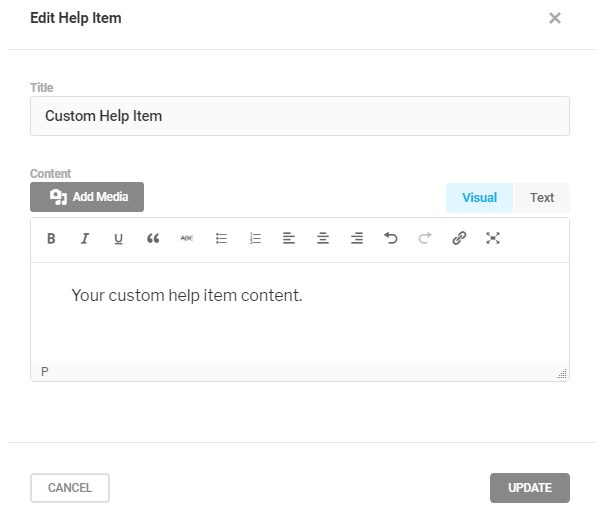
You can then view your help items by clicking on the help menu at the top of each page within the admin menu.
Create Your Own Color Scheme
Now that you’ve reorganized your admin area into something more practical, it’s time to jazz it up with a new color scheme.
Branda allows you to create your own, choosing everything from the background and admin menu/bar colors, right down to the link and hover colors.
A simple way to bring your admin area to life.
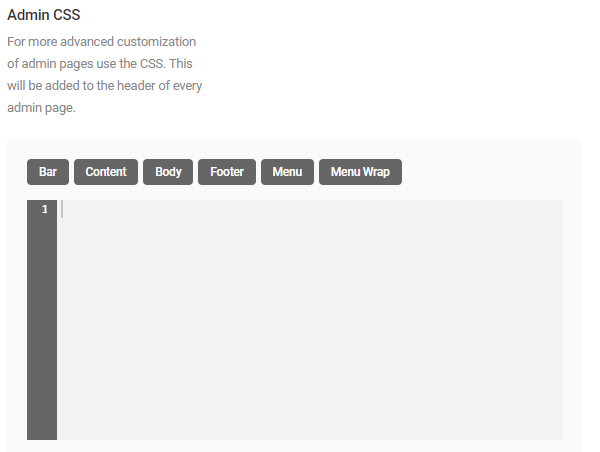
Add in Some Custom CSS
Whilst we’re pretty confident that Branda is indeed the ultimate white-labeling plugin, there may still be times where you have your heart set on something outside of her remit.
This is why the Custom CSS module exists.
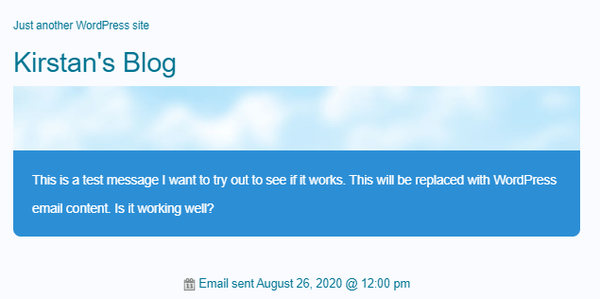
Choose a New Email Template
Branda’s email module offers the power to change the style of the emails that you receive from WordPress.
All you need to do is select a template (or make your own if you’re feeling creative) and then tweak the text.
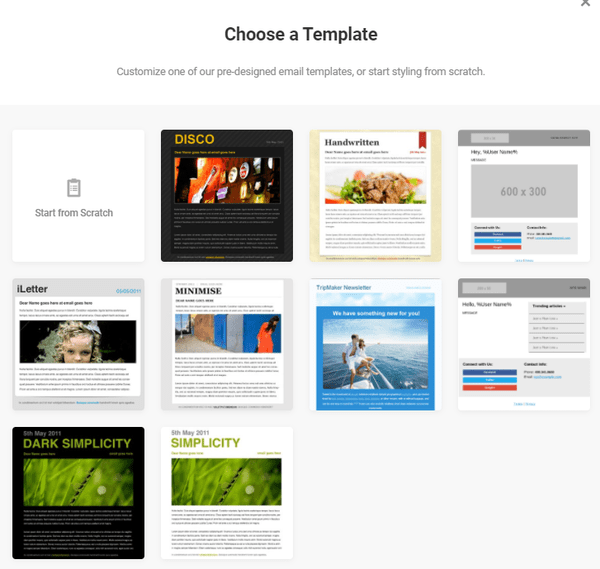
Hit the preview button to see how your new emails will look, and then use the HTML editor to add some personalization.
Front End
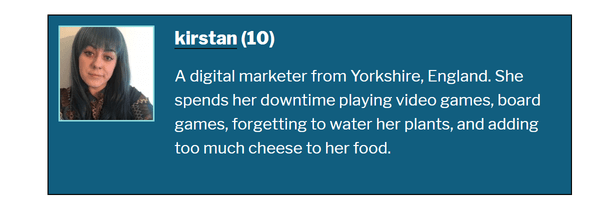
Edit Your Author Box
Branda’s Author Box module allows you to edit every aspect of your author box’s design.
You can hide your avatar and name, opt to show ‘More from the current author’ by linking to their other recent posts, link to social accounts, and of course, customize the color of your author box and bio.
Create Your Own Cookie Notice
Cookie notices are never going to be a thrilling read, however with Branda, you can at least customize them so they are succinct, to the point, and easy on the eye.
Simply activate the Cookie Notice module and type out your message.
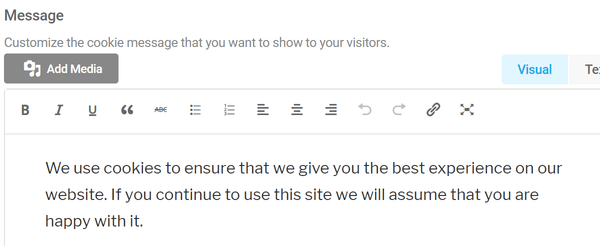
It wouldn’t be Branda if you couldn’t change the color and tweak the design. Once you’re happy with how your notice looks, you can choose how long cookies are stored for and select the version number.

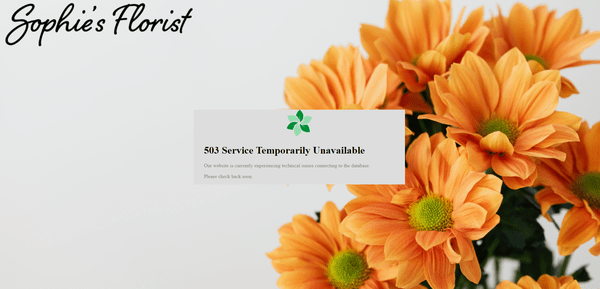
Personalize Your Database Error Page
Branda has a standard format when it comes to creating your own front-end pages. You’ll see this same layout again further down this guide.
In the unfortunate circumstance that your visitor encounters an error, Branda gives you the power to display a custom error page, instead of the default WordPress one.
You can start this process by selecting a background image and logo.
Just make sure your background image is no smaller than 1024px wide.
Once you have got the base of your page ready, you can move on to tweaking the design.
Select the size and opacity of your logo, as well as its position, and margin.
Decide how you want your background to display, and choose the size of your error message’s content wrapper, and then scroll down to choose the colors of the various elements.
Once you’re happy with your new settings, you can hit the preview button at the top of the page to check out your design.
Add Some Header and Footer Content
Your footer is a great place to display your company logo/slogan on each page of your site.
Branda makes it super easy to add one – you can either stick with just text or images or a combination of both.
You can even add a video!
The Header Content module gives you exactly the same options, however your content will be displayed at the top of your screen instead of the bottom.
This is a great way to add an alert to your site, such as letting your customers know you will be closed next week or telling them that an offer ends soon.
Create a Personalized Login Screen
One of the most awesome features of Branda is the ability to create your own custom login screen.
It’s so great, we did a whole post about it with full instructions showing exactly how to do it.
Whatever your brand, you can create a login page to match.
Utilities
Control Your Comments
With Branda, you can not only turn comments on and off, but you block individual IP addresses.
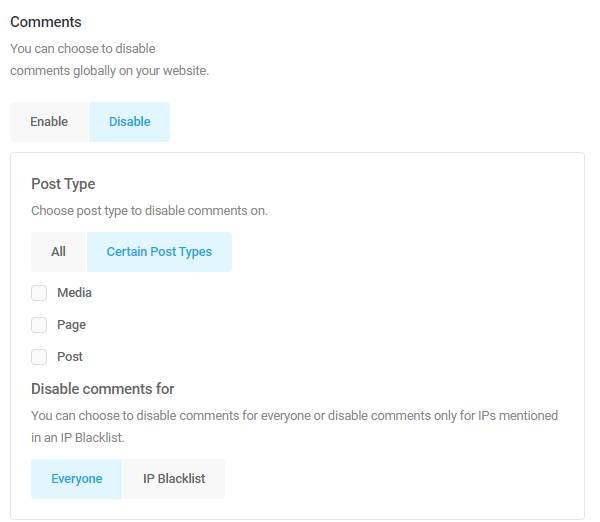
WordPress only lets you post one comment every 15 seconds, in an effort to prevent spam comments.
Branda can help you override this setting if you want to give more freedom to certain users – all you need to do is add IPs to the whitelist.
Create Maintenance Mode and Coming Soon Pages
Whether you’re working on a brand new site or just sorting out a few important updates, Branda allows you to quickly switch between maintenance and coming soon modes to give you a little privacy until you’re finished.
Keep your customers informed…in style!
Whilst the customization options are the same between the two modes, it’s important that you use the right one at the right time.
Coming Soon mode is used when you’re in the process of building your site. It lets Google know that it’s on its way, helping you get a headstart with your SEO and giving you somewhere to send visitors to build hype and interest.
Maintenance Mode is used for everything else – be it when you’re fixing a bug, adding a new product, or simply making changes to your site. Switching to Maintenance Mode puts out a 503 code, which lets Google know your site is offline, ensures you don’t get penalized and stops your page from being cached.
Branda gives you exactly the same customization options for both modes, but you need to make sure you select the right one for your purpose to ensure you’re sending out the right message to the search engine bots.
It only takes one click to switch modes.
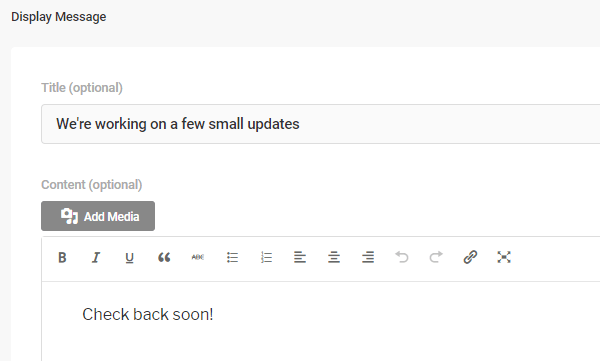
You start by adding your own background, logo, and then can make a few extra personalizations to let your visitors know what’s going on.
Select Display Message to add the note to your site which will give visitors the information they need.
You can also add a countdown timer if you’d like to let your visitors know how long your site will be down.
A countdown timer will help build excitement for your grand reveal!
If you want to give your visitors something to do while your site is out of action, you can direct them to your social accounts. With 28 to choose from, your visitors will never be left high and dry.

You can then make your final adjustments such as changing the colors, tweaking the content wrapping, and adding any custom CSS.
Seriously…who wouldn’t want custom branded pages like these?
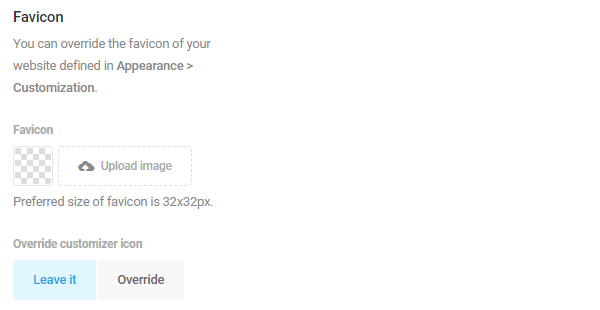
Select a New Favicon
Head to the Images module to choose your own custom favicon (the icon that displays in your browser tab).
Simple is better, but as long as you upload an image of 32px x 32px, you can use anything you like.
Set Text Replacement Rules
A handy feature found within the utilities section of Branda allows you to replace words and phrases throughout your site.
This can be especially beneficial when it comes to white labeling your admin area.
You can control whether the rules are case sensitive, and whether they apply everywhere or just on your front or back-end.
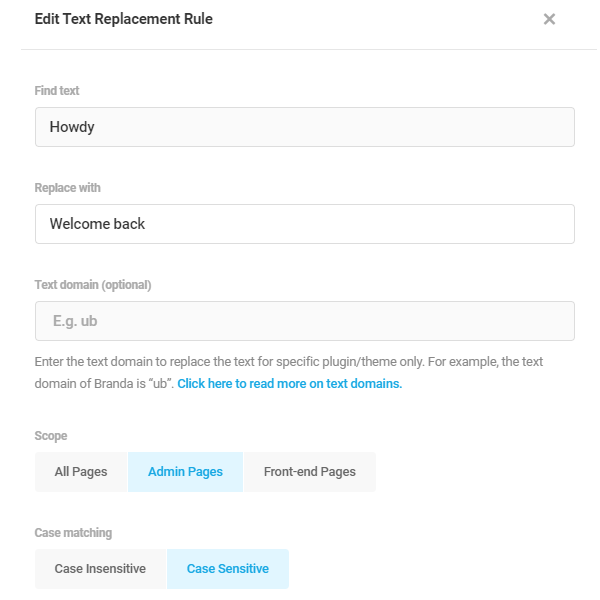
Using this feature, you can easily change the ‘Howdy’ message, on the right-hand side of your admin bar, to something more to your taste.
Cream of the Customizing Crop
It’s clear that when it comes to while labeling and customizing WordPress, it’d be tough to find a plugin with more features than our very own Branda.
Whilst customizing your WordPress back-end might not be at the top of everyone’s to-do list, Branda offers so much more than a couple of fancy color and logo changes – she’s the cream of the crop and believe it or not, completely free!
Branda is a great tool to customize and organize your admin space to make your admin duties run smoother – the fact that she can give your dashboard a whole new look is just the icing on the cake.
If you want the full rundown of Branda’s features, check out the documentation, and make sure you keep an eye on our roadmap to keep an eye out for new developments.